


The new WordPress editor Gutenberg marks a big shift away from the TinyMCE editor towards a WYSIWYG way of building pages and writing posts. While there are many 3rd-party page builder plugins already, WordPress version 5.0 has made Gutenberg the new default editor.
In today’s article, I’m going to explain how you, as a developer, can start leveraging that new editor by creating your own blocks for WordPress Gutenberg. A block is a single element that can be positioned on a page or post, like an image, a paragraph or a video. We’ll code a block that lets you easily embed Github gists by providing the gist URL or ID.
You can, obviously, adapt the code example below to any functionality you need. You could build a product gallery, pricing tables, a slider, or any other type of content you want to display.
How Do WordPress Gutenberg Blocks Work?
First, let’s talk about how Gutenberg blocks work and how they’re structured. They’re intended to be one level on top of HTML, so they’re their own entities. When talking about Gutenberg, you’ll often hear the terms Gutenberg post and Gutenberg block. A Gutenberg Post is an entire blog post, whereas a Gutenberg block is a single block element in that post.
You can think of Gutenberg posts as collections of single blocks that make up your blog post. It’s important that you don’t confuse Gutenberg posts with post_content. The latter is the post in its printed format, optimized for the website reader and retaining invisible marketings for later editing.
It’d take too much time to explain the entire language and the concepts behind Gutenberg, so instead, I’ll point you to the official handbook for further reading.
The Three User-Interface Sections of Blocks
Since the new WordPress Gutenberg editor has a new user interface, let’s briefly walk through the elements of blocks a WordPress user can interact with. Basically, there are three best-practices you want to follow.
1. The content area of the block should be the primary interface.
Remember that the blocks should represent the content that’ll actually show on the frontend. Hence, the area that displays the content should also be the main way for WordPress users to interact with your block.
2. The toolbar is the place to put options & controls.
Blocks also have toolbars, which are the secondary place for WordPress users to interact with them. Depending on the context of usage, your block might not need a toolbar. They’re highly context-relevant and visible on all screen sizes. And they have a noticeable constraint: you need to communicate your controls through icons, due to the icon-based UI of toolbars. Thus, any controls and options you put into the toolbar need to be communicated through icons.
3. The block sidebar should contain only advanced or tertiary controls
Do not rely on this sidebar to display important controls, as it’s not visible by default on small / mobile screens and might be collapsed on desktops. The Gutenberg handbook recommends you think of this area as section for options that only power users might discover.
The Create-Guten-Block Framework
Now that we have a first, very basic, understanding of Gutenberg blocks, let’s dive into building our first custom block. Therefore, we’ll be using the create-guten-block framework by Ahmad Awais.
This framework is a powerhouse for developers. It comes with support for React, webpack, ES6/7/8/Next, ESLint, Babel, and more – without forcing you to configure all those components. Instead, you can simply install the framework using npx (comes with npm 5.2+).
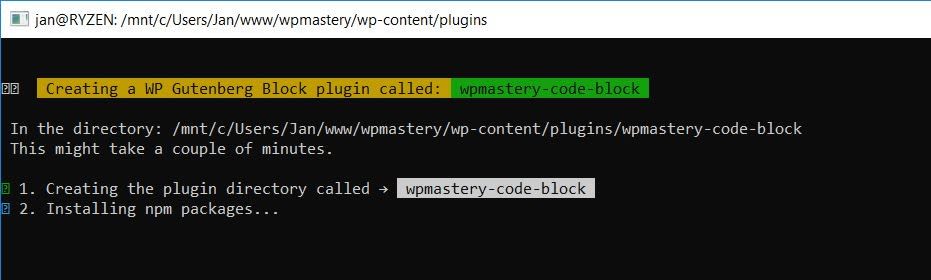
Simply use a terminal of your choice and cd into your wp-content/plugins directory. Then execute the following commands and replace “my-block” with the name of your new block.
npx create-guten-block my-block

cd my-block

npm start
Here’s a screenshot of my bash on Windows running those commands:
It might take a few minutes for the installation to complete, but after that, you’ll be greeted with this screen:
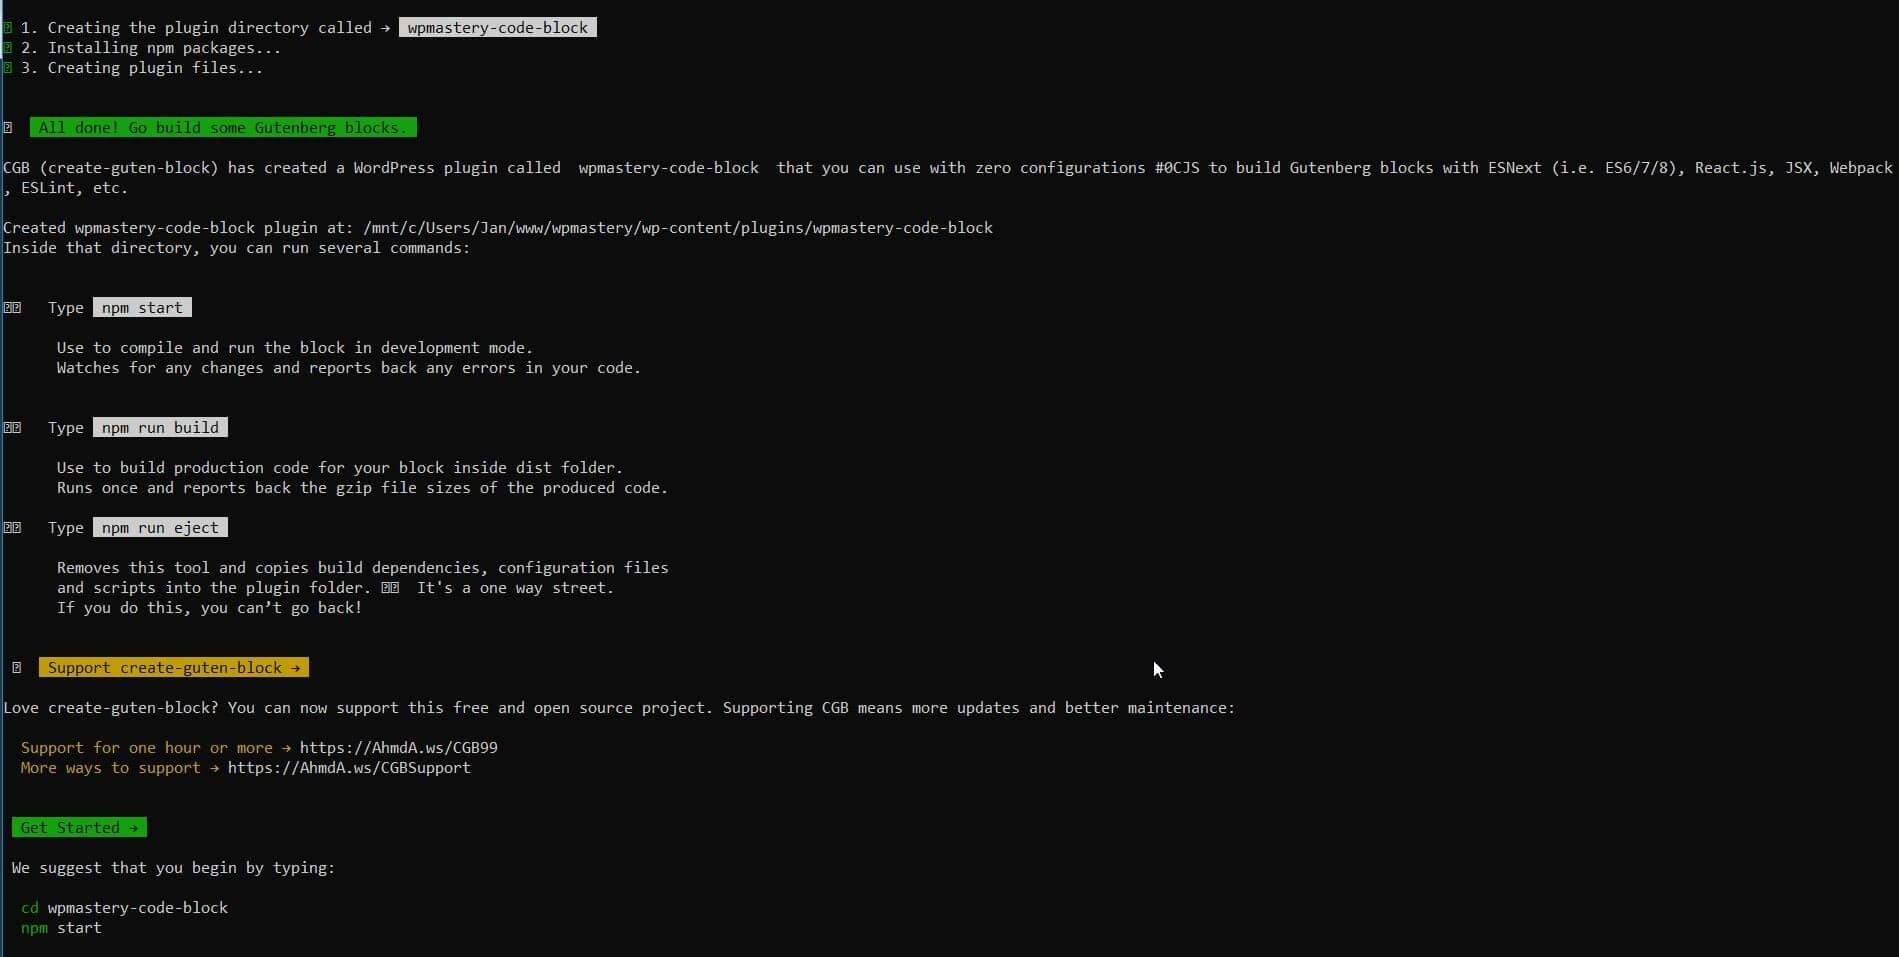
As you can see, I created a block called “wpmastery-code-block” for this example.
Let’s have a look at the file structure of this new plugin:
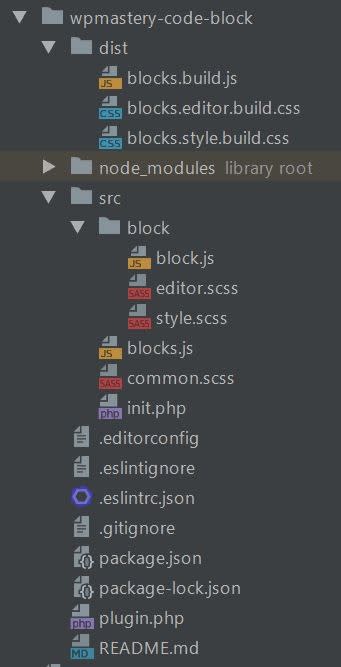
As you might already assume, we’ll spend plenty of time in the src/blocks folder to add our custom functionality. In this example, we want the block to show a field where a user can add the URL of a Github gist, to embed it in a post.
There are a few files we should talk about to understand how the plugin is set up:
1. plugin.php
This is the main file. It contains plugin information that is displayed in the WP Admin area or the repository (once you submit your block plugin). The create-guten-block framework uses that file to simply check if it’s called in the regular WordPress context (and not directly) and to load src/init.php.
2. init.php
The init.php file is used for enqueuing all the Javascript and CSS files necessary for your block to work properly. With Gutenberg, we can hook loading the frontend resources into the enqueue_block_assets hook on the frontend and enqueue_block_editor_assets in the backend.
3. blocks.js
Create-guten-block allows you to add more than just one block; however, it has just one block per default. Blocks.js is used to import the Javascript files necessary to run any block you built from the blocks subdirectory.
4. src/blocks.js
Finally, the blocks.js file in the src directory contains all Javascript code defining the behavior and functionality of your block. It uses the registerBlockType function from the Block API to create the block element with its save and edit functions. They’re predefined for you through the framework and you can adjust them to your needs.
Adding the Functionality to Your Block
Let’s start customizing src/blocks.js and add our own functionality to it. We’ll add an interface to the editor that simply lets the user add a link to the Github gist they want to embed. If you’re developing this functionality for the first time, it might not be very straightforward as Gutenberg blocks are heavily relying on Javascript.
As Lara Schenk points out in her primer on create-guten-block:
One of the key changes that Gutenberg brings to the WordPress ecosystem is a heavy reliance on JavaScript.
When I started dabbling around with custom Gutenberg blocks, I wasn’t familiar with React. I’m still nowhere close to writing good React code, but I don’t need to be in order to build reliable Gutenberg blocks – and neither do you. Luckily for us, the create-guten-block framework lets us skip all the necessary configurations and sets up the necessary components for us. With a little fiddling around, you’ll be able to customize the generated code to your needs.
For this tutorial, here’s what we’ll create:
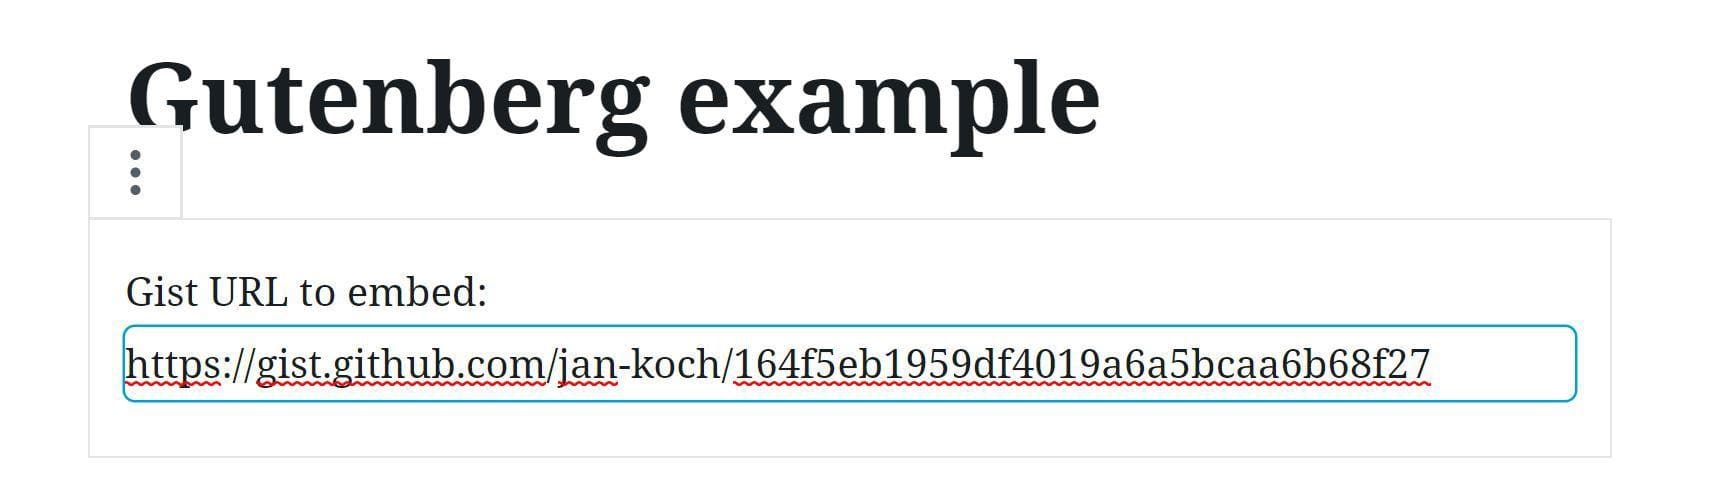
We’ll create a block that shows a simple “Gist URL to embed:” message and a text input below, for the user to enter the URL of the Gist. Nothing too crazy, but a good starting point to learn more about the Gutenberg API.
The functionality is located in src/block/block.js:
https://gist.github.com/jan-koch/6632dd48decd595bf88e4d13a960538a
As you can see, the JavaScript code for the block contains a few important elements. Let’s go through them one by one.
Line 12-14:
In this section, we’re loading support for internationalization, the registerBlockType function and the PlainText element from the global wp object.
Inside the registerBlockType() function (called in line 28), you’ll see a number of parameters specified. Those are used for configuring your custom block. While I’ll leave it to the function’s documentation to go into all the nitty-gritty, let’s talk about a few important code pieces.
Line 38:
In the attributes element, we’re specifying the input of the Gutenberg block, specifically the naming and formatting. It is called gist_url and formatted as a string, which makes sense as we want our block to store a URL. We’ll later use the gist_url variable to store the URL, to display it in the backend and to render the embed code for the Gist in the frontend.
In this example, we only set one attribute – however, you can set as many attributes as you’d like. They provide all the structured data requirements for your block and will get passed to the edit() and save() functions as you’ll see below.
Line 51-61:
The edit() function controls how the block is rendered in the editor, the backend of the website. This function runs only when your block is used in the context of the Gutenberg editor. You can pass various arguments to the function, three of which we’re using for our needs:
className
The className property returns the class name for the wrapper element. While the className property is added to the save() function (see line 51 in the code) automatically, it’s not automatically added in the edit() function (line 70 in the code). We could omit using it in this example, as it is only used in the HTML markup with no specific function.
Attributes
As you might already imagine, this property gives us access to all available attributes and their corresponding values we specified above in line 38. If they already contain a value, the value will be rendered once the block is used in the Gutenberg editor. That rendering makes it easy for our users to see which Gist URL they saved in our block.
setAttributes
As the block needs to interact with the user, particularly to store data, we want to include the setAttributes() function. That allows us to update individual attributes (like our gist_url) based on user interaction. You can see it running in line 57.
Line 70-73:
The save() function is the counterpart to the edit() function and controls rendering of the block on the website frontend. For most blocks, it’s recommended to return an instance of wp.element, which acts as an abstraction layer atop React. I omitted implementing a wp.element as a return value though, to keep this tutorial as straightforward as possible.
As you can see, it is also possible to use JSX for returning HTML strings through the save() function. Take note that the returned code will be escaped. The plugin should serve as an example and starting point for you, but please do not use it as it is in production. The Block API will give you more insights on how to best utilize the save() method.
Getting Started with Gutenberg
Creating Gutenberg Blocks requires much more JavaScript knowledge compared to traditional theme or plugin development. However, this also leads to a huge potential for decluttering theme development in the future. Imagine writing a theme code that only consists of a simple loop, where Gutenberg handles serializing and rendering the content of the page. Wouldn’t that be a dream scenario?
The learning curve for developers who aren’t familiar with React, JSX, and all those frameworks can be quite steep. It certainly took me quite some time to familiarize myself with the new methodologies. A thank you goes out to Ahmad Awais for developing the create-guten-block framework that gives a big headstart into developing your first Gutenberg block.
Managed WordPress Can Help
While you are busy getting your site ready for the Gutenberg update, let Liquid Web take care of image compression, core WordPress and plugin updates, and more with Managed WordPress.


Jan Koch
Jan is a WordPress developer and runs an agency that specializes in building and improving WordPress websites. He writes at WP Mastery and is working with businesses and entrepreneurs across the globe.


Keep up to date with the latest Hosting news.