


How to Install Zen Cart on CentOS 7
Online shopping for customers is vital for any store, even more so when adapting to life in the post-pandemic era. However, finding a proper eCommerce hosting solution for online stores can be challenging for various reasons, like a limited budget or not having a technical background.
If the software you previously tried did not work, Zen Cart could be the answer. Find out more about what it is and how to install Zen Cart on CentOS 7.
What is Zen Cart?
Zen Cart is open source, free software that helps you manage your online store. It is based on PHP, uses a MySQL database, and has HTML components. The software supports several languages and currencies and has a user-friendly admin area.
This tutorial walks through how to install this online store management tool on a CentOS 7 server.
Installation Requirements
- CentOS 7.
- Root user access.
- LAMP stack.
How to Install Zen Cart on CentOS 7
Installing Zen Cart is quite simple for servers equipped with a control panel and Softaculous (a server software auto-installer). For this tutorial, the terminal is the tool used to install Zen Cart and all other dependencies.
Step 1: Installation of Utilities and PHP Extensions
Install the unzip, zip, and curl utilities with the following command.
[root@host ~]# yum install unzip zip curl -yThe output of the command confirms the installation.
Installed:
  Package unzip-6.0-22.el7_9.x86_64
  Package zip-3.0-11.el7.x86_64
  Package curl-7.29.0-59.el7_9.1.x86_64
Zen Cart requires the following php extensions:
- PHP-curl
- PHP-XML
- PHP-gd
- PHP-mbstring
Install the above extensions using this command.
[root@host ~]# yum install php-curl php-xml php-gd php-mbstring -yThe final output confirms the installation.
Installed:
  php-gd.x86_64 0:5.4.16-48.el7
  php-mbstring.x86_64 0:5.4.16-48.el7
  php-xml.x86_64 0:5.4.16-48.el7
Step 2: Database Creation
Log into the MySQL or MariaDB command line interface (CLI). Once inside the CLI, run this command to create a user for the Zen Cart database and assign it a password.
MariaDB [(none)]> CREATE USER 'lw_zencart'@'localhost' IDENTIFIED BY 'ZenCart5hop';Create the database with this command.
MariaDB [(none)]> create database lw_zencart_shop;Grant privileges for the created database to the newly created user.
MariaDB [(none)]> grant all privileges on lw_zencart_shop.* to 'lw_zencart'@'localhost' identified by 'ZenCart5hop';Finally, flush the new set of privileges with this command in your database CLI. The flush privileges command reloads the grant tables in your database by enabling the changes to take effect without stopping and restarting.
MariaDB [(none)]> flush privileges;Step 3: Install Zen Cart on CentOS 7
Download the latest version of Zen Cart. This tutorial covers version 1.5.7c.
Run this command to download Zen Cart.
[root@host ~]# wget https://sourceforge.net/projects/zencart/files/CURRENT%20-%20Zen%20Cart%201.5.x%20Series/zen-cart-v1.5.7c-03052021.zipOnce complete, run this command to unzip the downloaded package.
[root@host ~]# unzip zen-cart-v1.5.7c-03052021.zipAfter the process finishes, copy the contents of the unzipped Zen Cart directory to the web server’s document root. The current web server is Apache.
[root@host ~]# cp -rf zen-cart-v1.5.7c-03052021/* /var/www/html/Issue this command to grant Apache full access rights to the Zen Cart files.
[root@host ~]# chown -R apache:apache /var/www/html/Step 4: Zen Cart Setup Through Your Web Browser
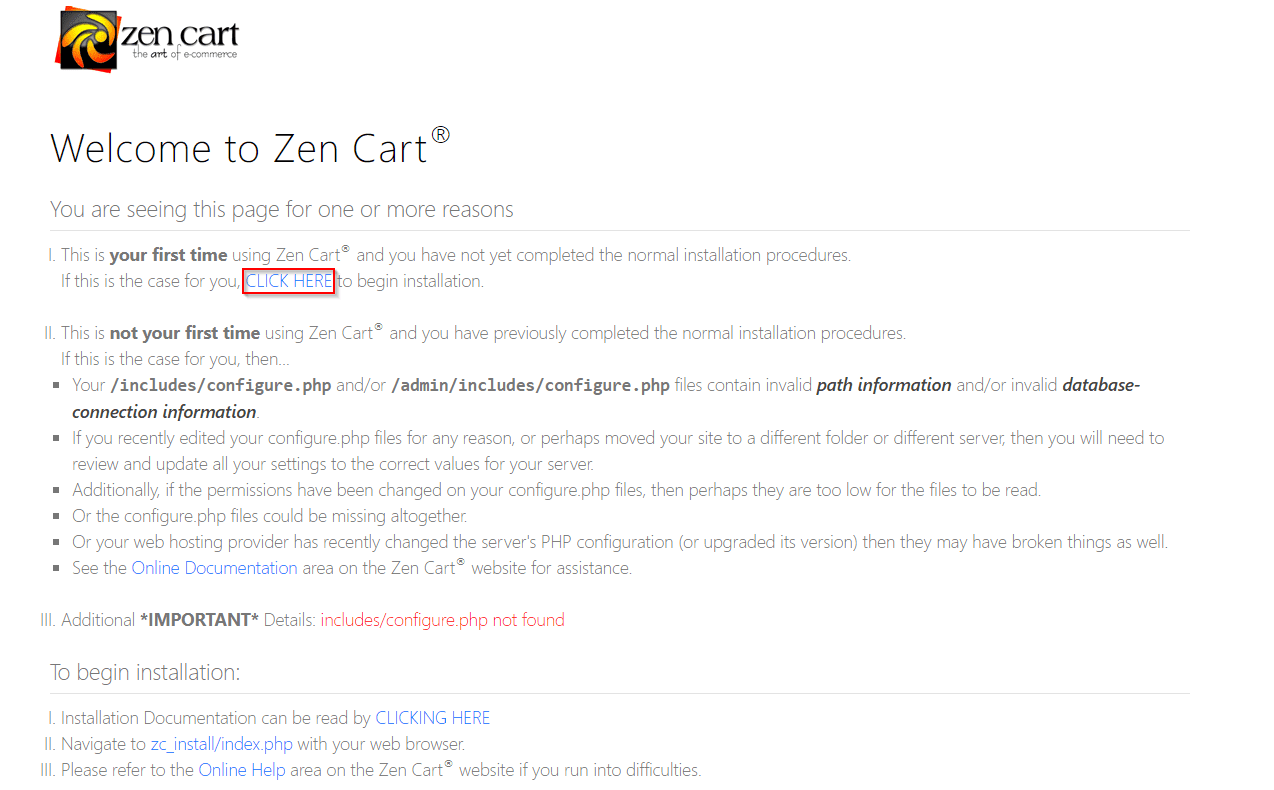
From the web browser, type the IP address of the server using the following syntax.
http://69.167.167.222/Once the browser finishes loading, click the Click Here option in the Zen Cart dashboard.
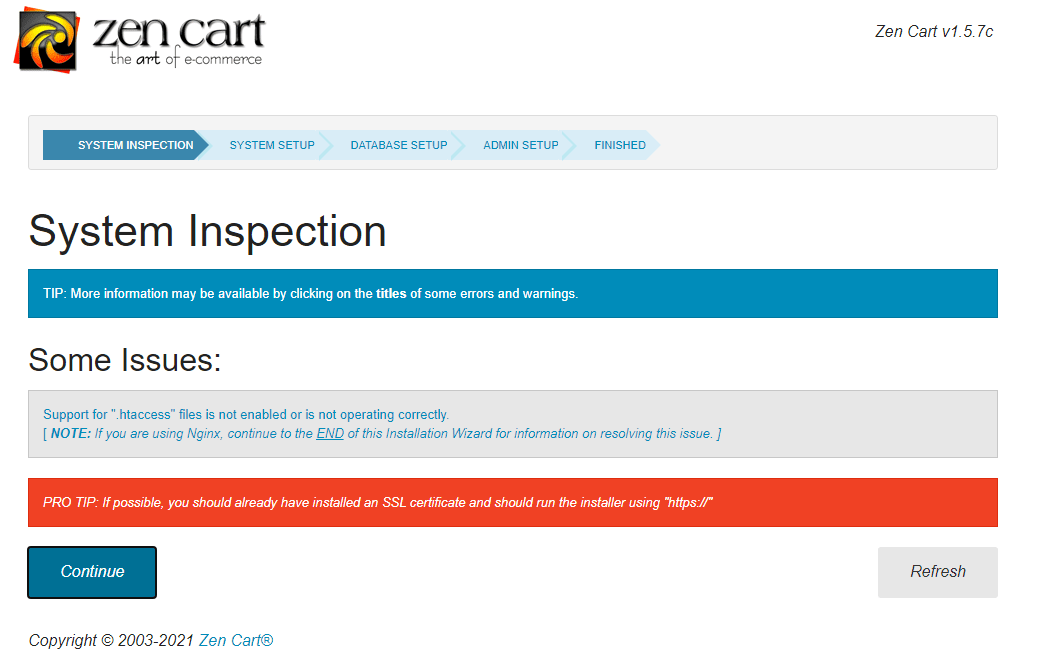
Click Continue.
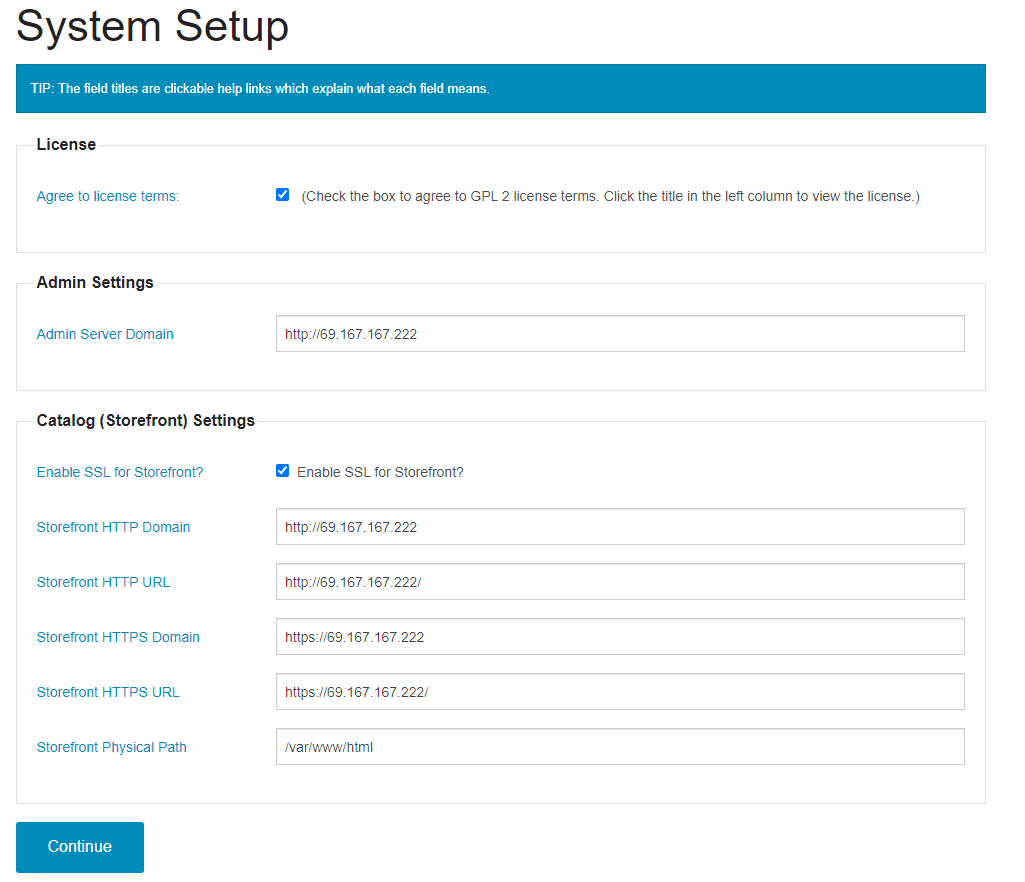
Click the checkboxes for Agree to license terms and Enable SSL for Storefront. IP addresses are automatically added to the remaining fields based on your server's IP.
Once completed, click Continue.
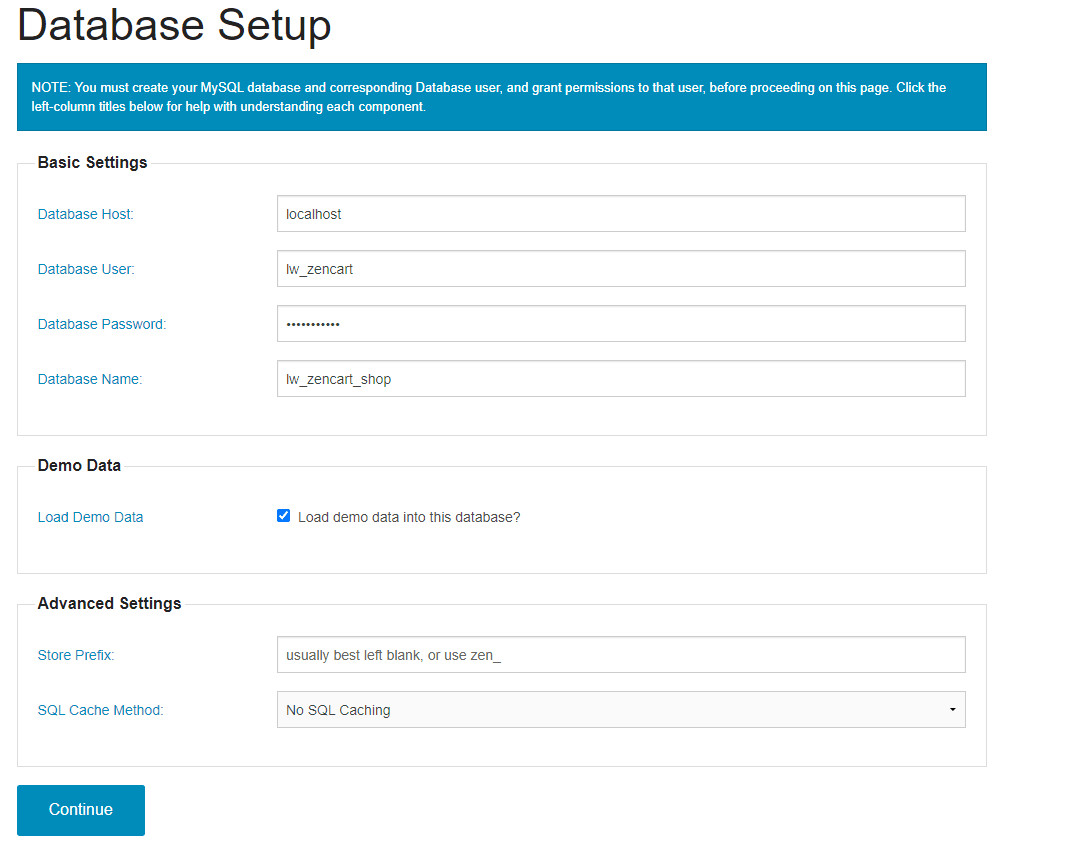
Next, fill out the Basic Settings and click the checkbox next to the Load Demo Data option. Once finished, click Continue.
Establish a username and email address for the admin of the Zen Cart backend and click Continue.

Record the URLs for your admin dashboard and your storefront.
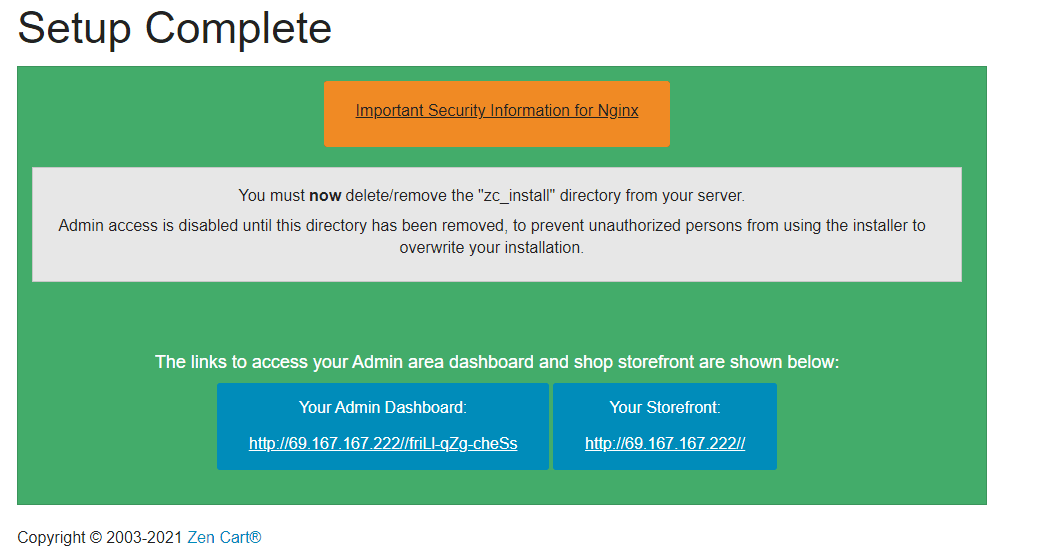
Step 5: Password Setup and First Login
Enter the following command to remove the zc install installation directory before the first login.
[root@host2 /]# rm -rf /var/www/html/zc_install/Access the admin dashboard from the link in the previous step to open the Zen Cart login page.
Log in with the configured username and the auto-generated password. Update the password, which requires seven characters using both numbers and letters.
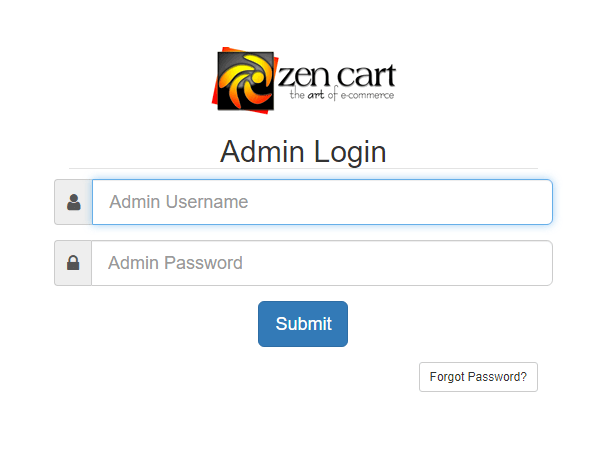
Zen Cart is ready for use once logged in.
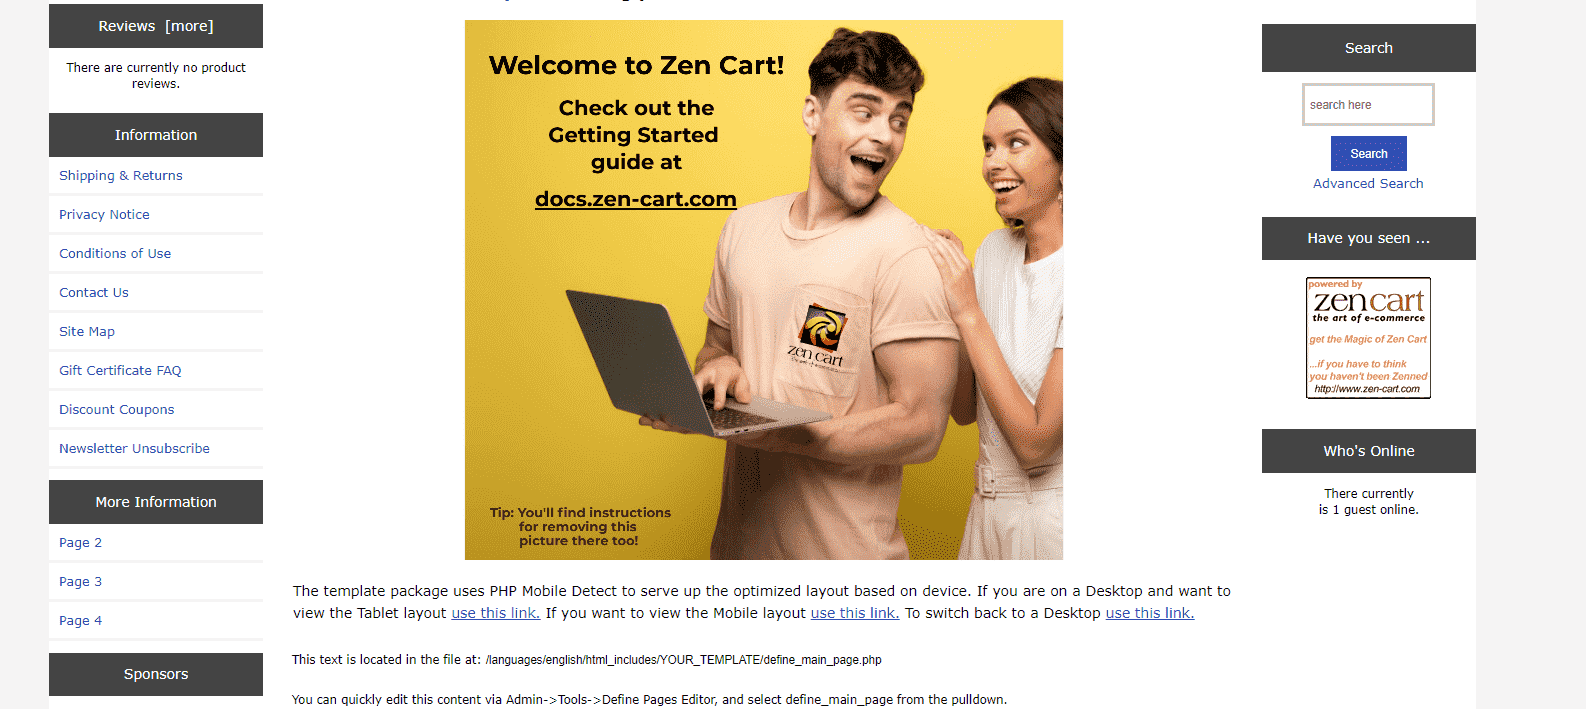
Conclusion
This tutorial walked through the process of installing Zen Cart on CentOS 7. It is a helpful solution when your budget is limited and you require a reliable storefront.
Contact our hosting advisors and check out our eCommerce hosting solutions if you want a highly performant, easy-to-scale eCommerce solution.

Related Articles:


About the Author: Dean Conally
I am a Linux enthusiast and console gamer, dog lover, and amateur photographer. I've been working at Liquid Web for a bit less than two years. Always looking for knowledge to expand my expertise, thus tackling new technologies and solutions one day at a time.


Our Sales and Support teams are available 24 hours by phone or e-mail to assist.
Latest Articles
How to use kill commands in Linux
Read ArticleChange cPanel password from WebHost Manager (WHM)
Read ArticleChange cPanel password from WebHost Manager (WHM)
Read ArticleChange cPanel password from WebHost Manager (WHM)
Read ArticleChange the root password in WebHost Manager (WHM)
Read Article