


How to Manage VMware VLAN Configurations
What is VMware VLAN?
A local area network (LAN) is a group of computers connected via physical networking hardware, typically a switch. A virtual local area network (VLAN) divides a LAN into isolated segments, reducing network broadcast congestion. A VLAN can also span multiple networks, linking networked computers across physical locations (different switches).
How to Create a VLAN Using VMware
For this instance, we are using VMware ESXi. This software is installed onto the physical hardware and allows you to split up your single physical server into multiple servers known as virtual machines (VMs).
Requirement Options
There are a few different ways to set up your VMware environment. Here are two ways to get started with minimum requirements for each:
Option 1
- Dedicated server.
- Root access.
- The ability to install an operating system (OS) or ESXi software.
Option 2
- VMware environment.
- Access to VMware ESXi.
How to Manage VLAN Configurations with VMware ESXi
In your Liquid Web VMware hosting, VMware ESXi comes pre-installed and configured. However, you will need to make changes to the configuration to customize and manage your VLANs.
Step 1: Set Up Your Network on ESXi VLAN
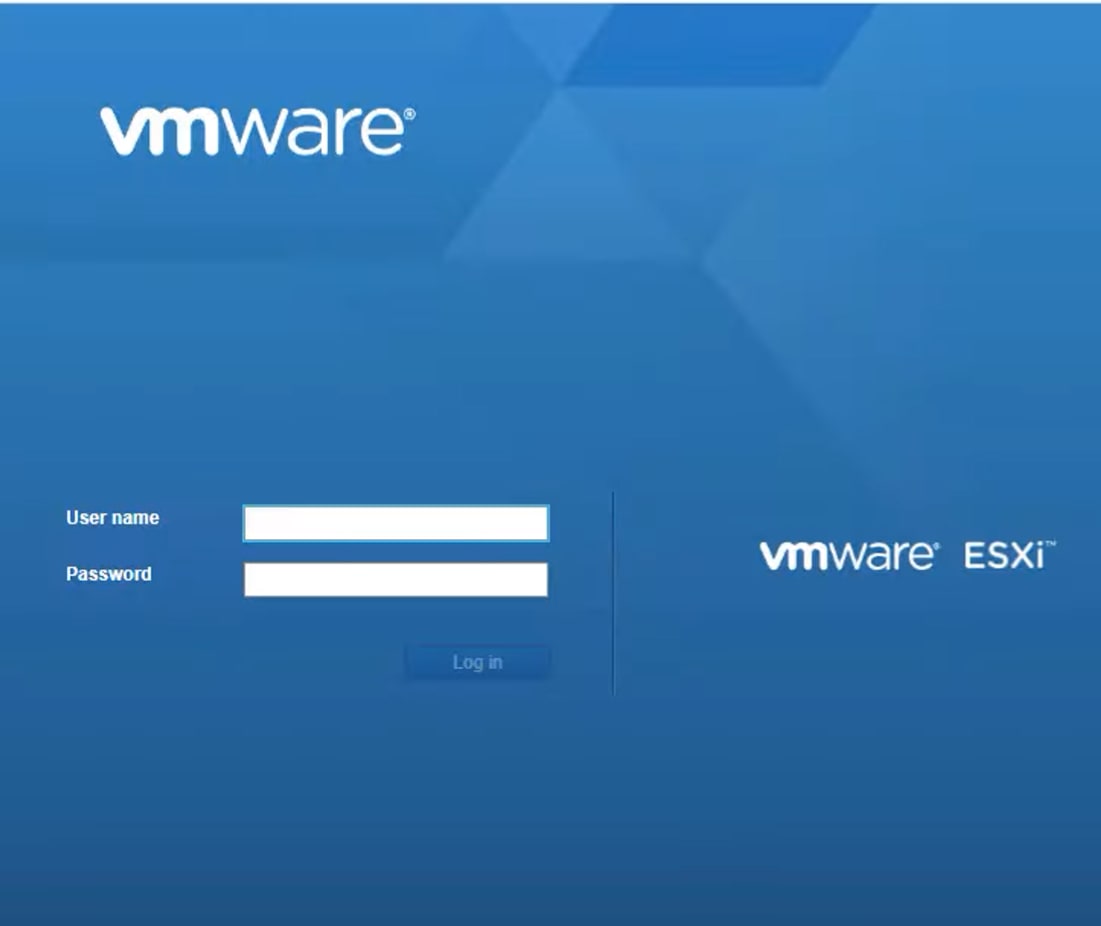
To log into VMware ESXi, you need to obtain your IP address. Using the IP address in your web browser, log into VMware ESXi to set up the network for your VMware VLAN.
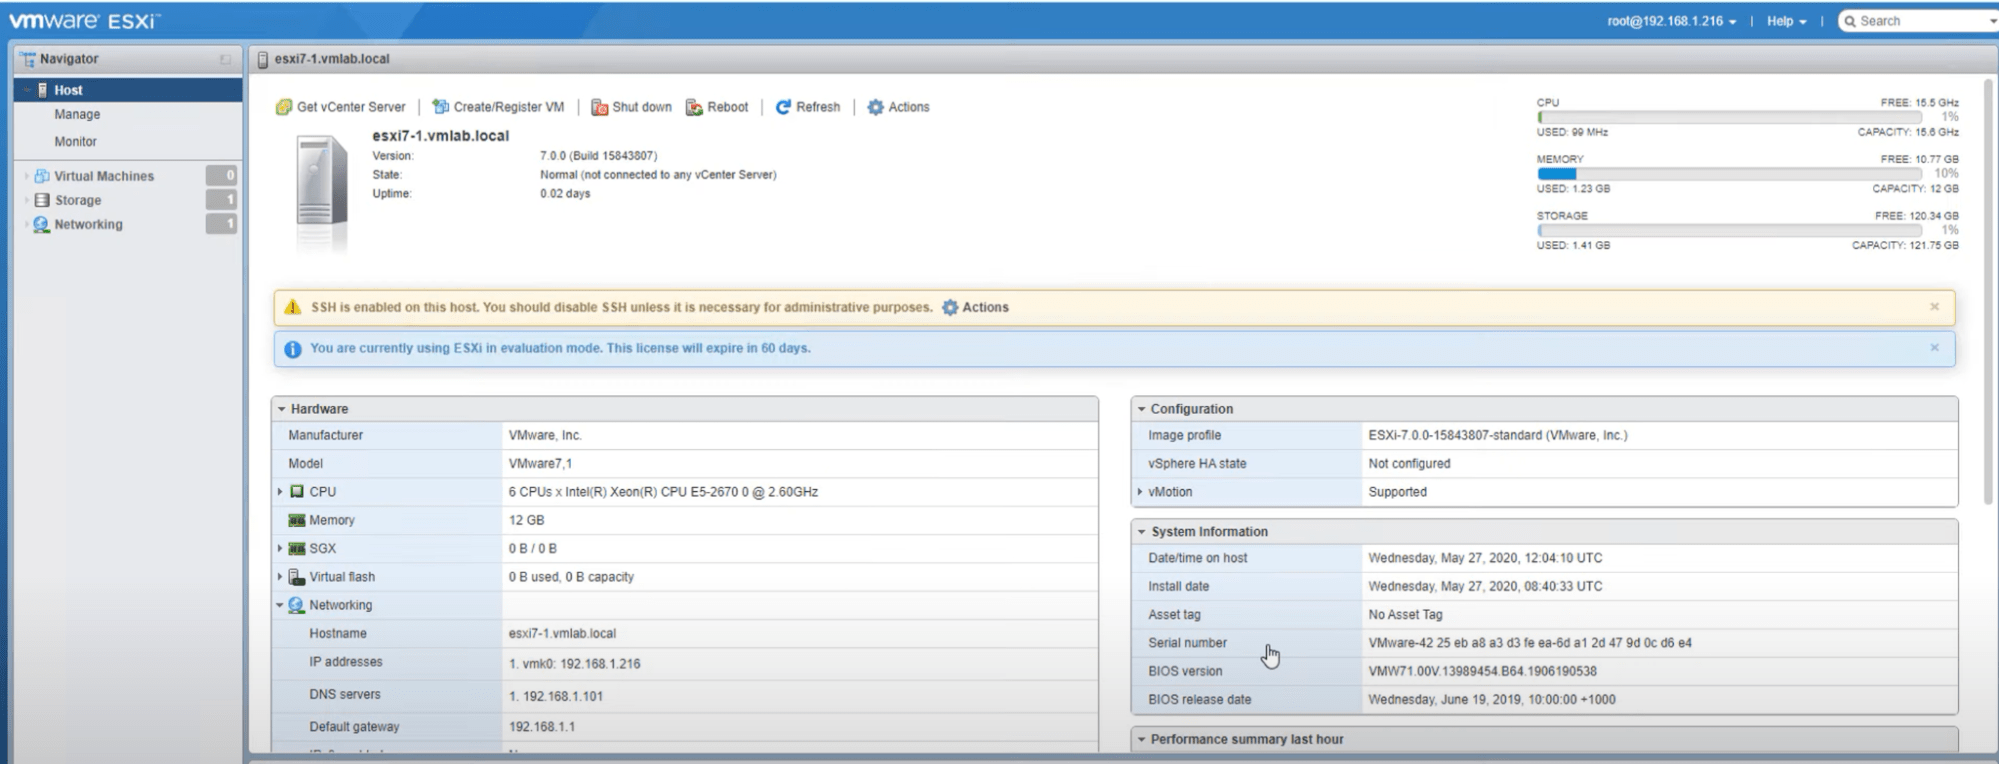
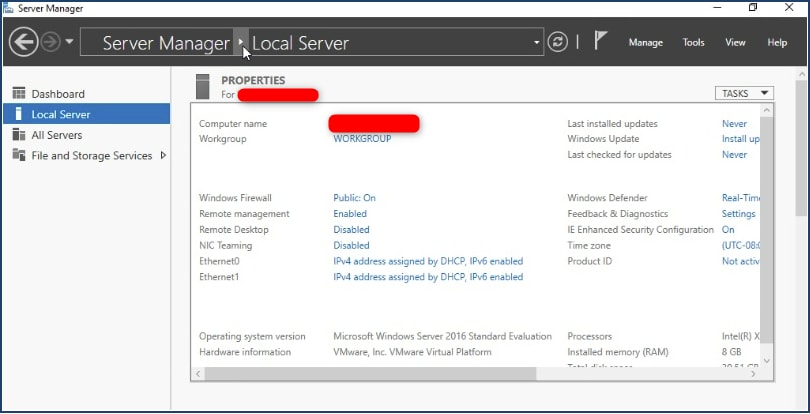
Once logged in, the main page appears with the server specifications.
Step 2: Set Up the VMware VLANs
Port groups are used for traffic routing. For example, ESXi uses ports 2 through 4000 to handle traffic. Once the chosen ports are input, click the Networking tab on the right-hand side.
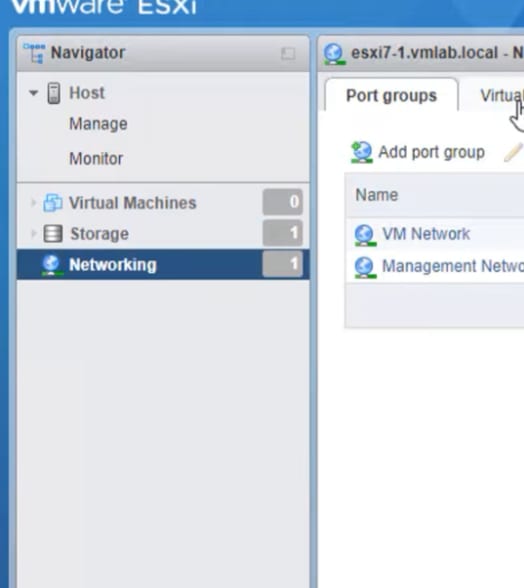
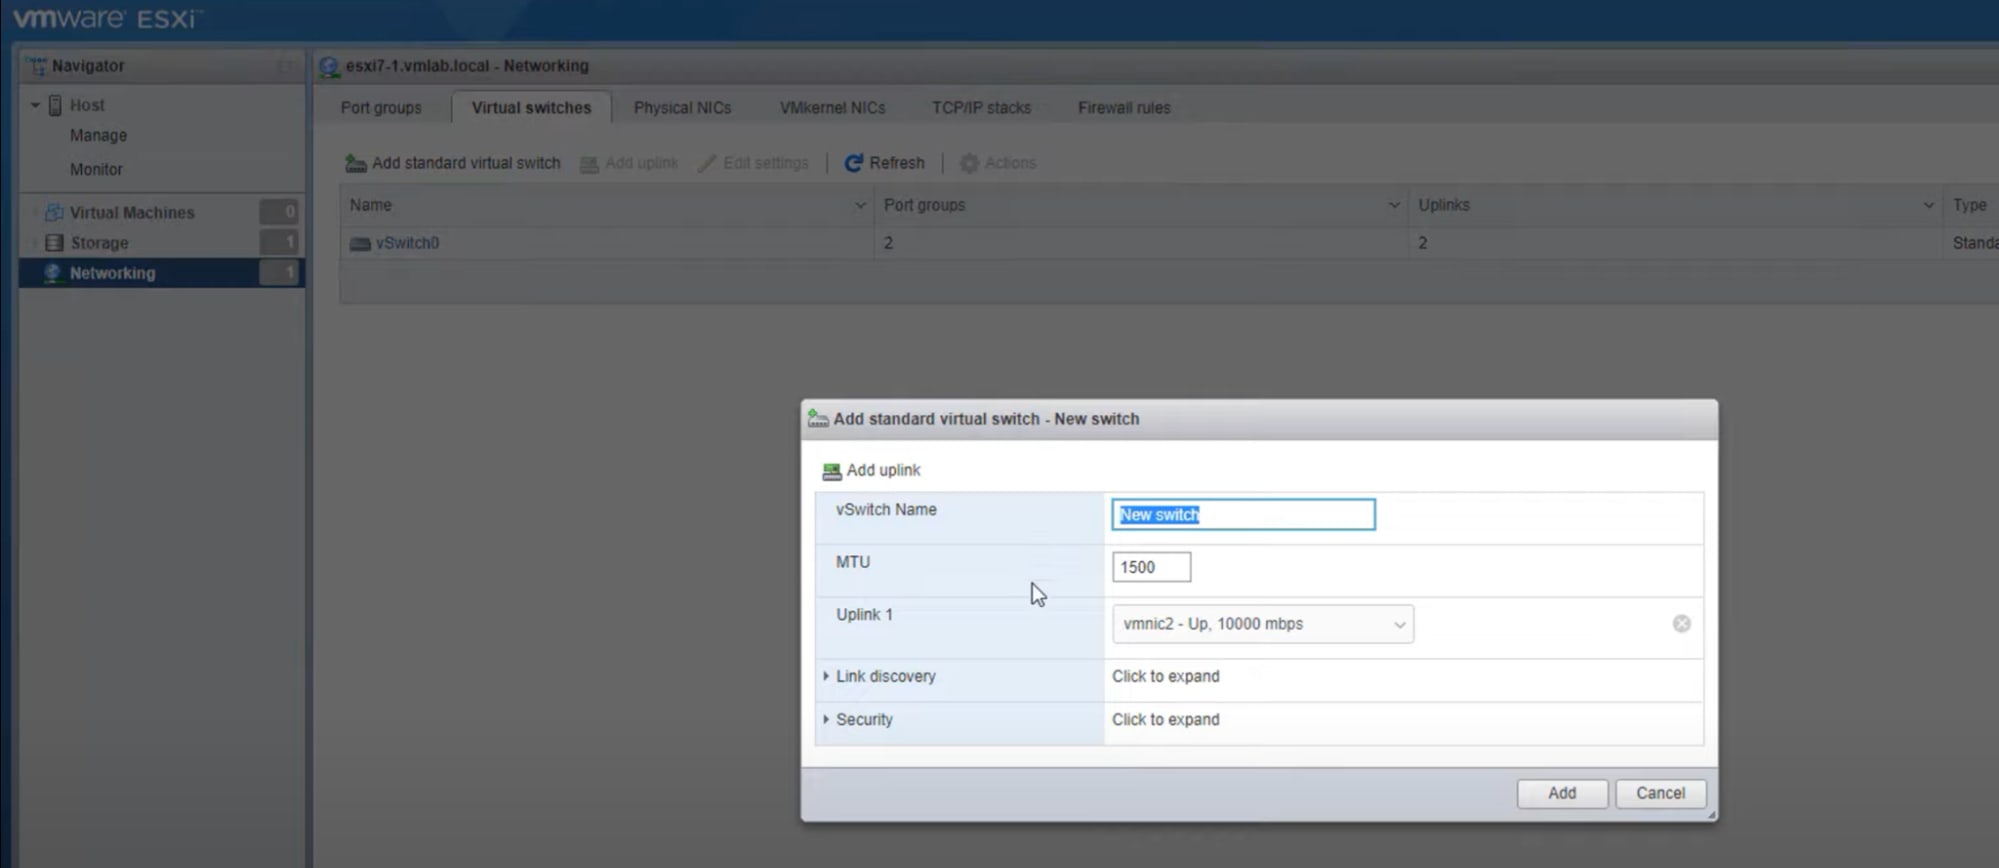
Click the Virtual switches tab.
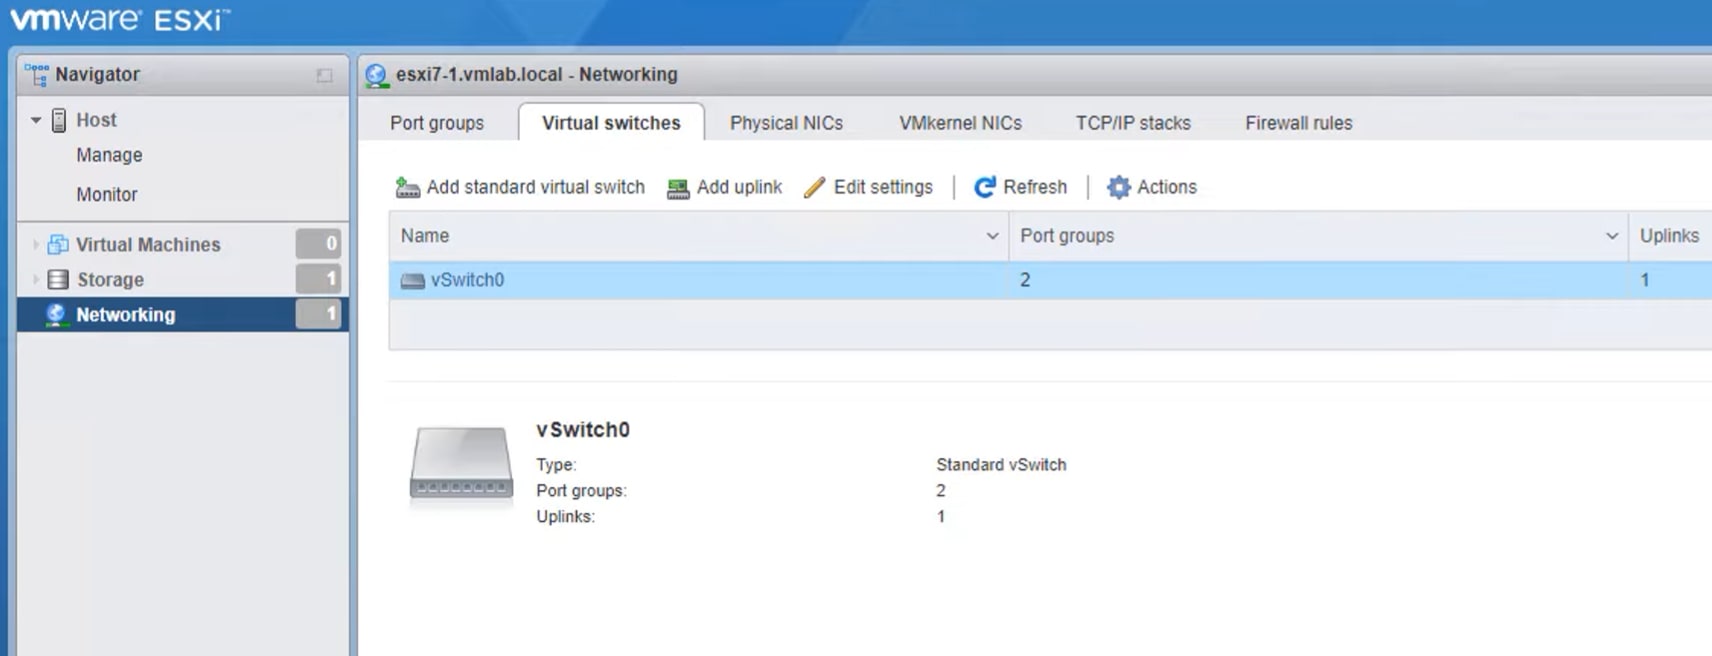
Setting up the switches on ESXi depends on how many network interface cards (NICs) you have on the server. In the Virtual switches tab, add the appropriate number of switches, with each uplink being a NIC routed to the correct port to function.
Step 3: Continue Network Setup on VM Operating System
Now that the setup process in VMware on the host server has begun, finalize the installation on the guest VM’s operating system. The OS used in this tutorial is Windows server 2016.
From Server Manager (the management console in the Windows Server OS), click Local Server on the left-hand sidebar. Next, click the IPv4 address assigned by DHCP, IPv6 enabled text next to Ethernet1.
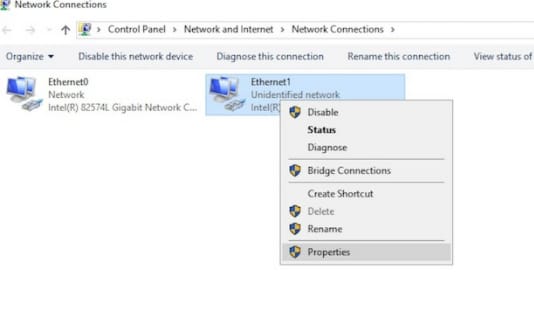
Right-click Ethernet1 and select Properties from the drop-down menu.
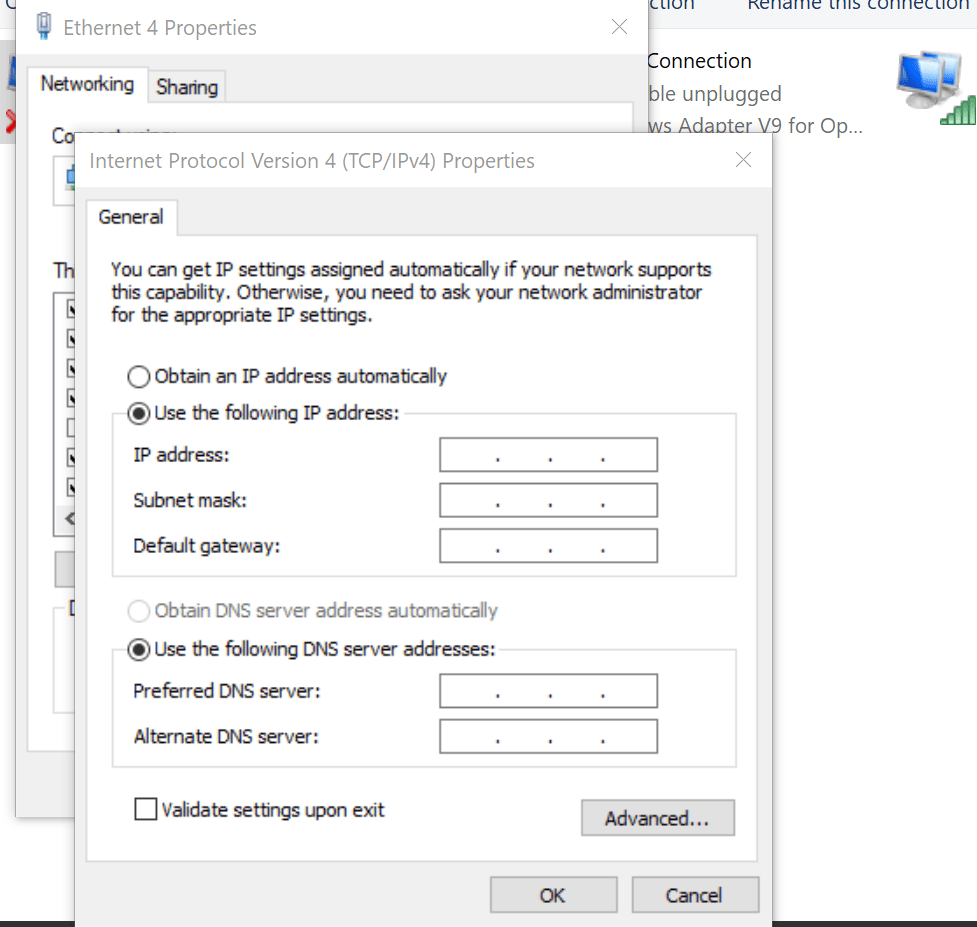
Double click Internet Protocol Version 4 (TCP/IPv4) to open the Internet Protocol Version 4 (TCP/IPv4) Properties menu.
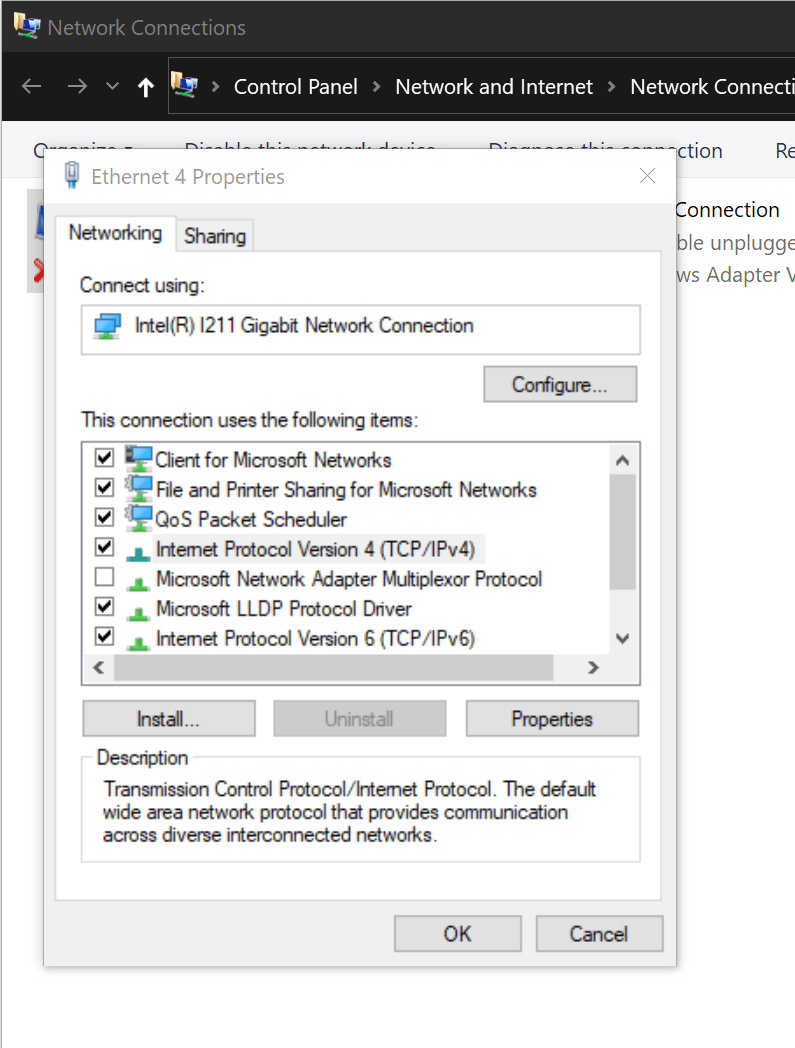
Click the radio button for Use the following IP addressand enter a private IP address and a subnet mask. Enter the IP address of your desired DNS server and an alternate if applicable. Click OK once complete.
You are now ready to use your ESXi IP address on your Windows instance.
Conclusion
Configuring and deploying VMware VLANs allows you to create separate private networks in which only virtual machines attached to that network can communicate. With this guide, you can vastly refine your security and use this superb software to hone your network’s performance.
Are you looking for a managed VMware solution with support for these kinds of settings? Liquid Web’s VMware Private Cloud is the solution for you. Contact our sales team today to begin the process of getting your environment.
Related Articles:


About the Author: Ronald Caldwell
Ron is a Technical Writer at Liquid Web working with the Marketing team. He has 9+ years of experience in Technology. He obtained an Associate of Science in Computer Science from Prairie State College in 2015. He is happily married to his high school sweetheart and lives in Michigan with her and their children.


Our Sales and Support teams are available 24 hours by phone or e-mail to assist.
Latest Articles
How to use kill commands in Linux
Read ArticleChange cPanel password from WebHost Manager (WHM)
Read ArticleChange cPanel password from WebHost Manager (WHM)
Read ArticleChange cPanel password from WebHost Manager (WHM)
Read ArticleChange the root password in WebHost Manager (WHM)
Read Article